Air Fryer Potato Skins


These air fryer potato skins are everything you love about the classic appetizer—crispy edges, gooey melted cheese, salty bacon—but they’re quicker, easier, and way less greasy than the deep-fried kind. They’re golden, cheesy, and gone within minutes at any party.

As someone who’s always looking for smart kitchen shortcuts, I love taking restaurant-style apps and making them faster and easier at home (like my air fryer garlic bread or jalapeño poppers!). These potato skins are now in regular rotation—whether it’s game day, Friday night movies with my daughter, or just a quick snack to spoil myself with something cheesy and comforting.
What Are Potato Skins?
Potato skins are exactly what they sound like—potato halves with the fluffy center scooped out, leaving a boat-like shell that’s crisped up and stuffed with all the good stuff. Think cheese, bacon, sour cream, and scallions. They’re super customizable and make the perfect two-bite appetizer or snack.
Why You’ll Love This Recipe
- Air fryer = faster + crispier than the oven and healthier than deep frying.
- Make-ahead friendly. Bake the potatoes and scoop them ahead of time.
- Kid-approved and party-ready. Just add toppings and you’re good to go.
- Customizable. Cheese, bacon, sour cream, or whatever your heart (and fridge) desires.
Ingredients You’ll Need
Please scroll ⬇️ to the recipe card for the full ingredient amounts and instructions.
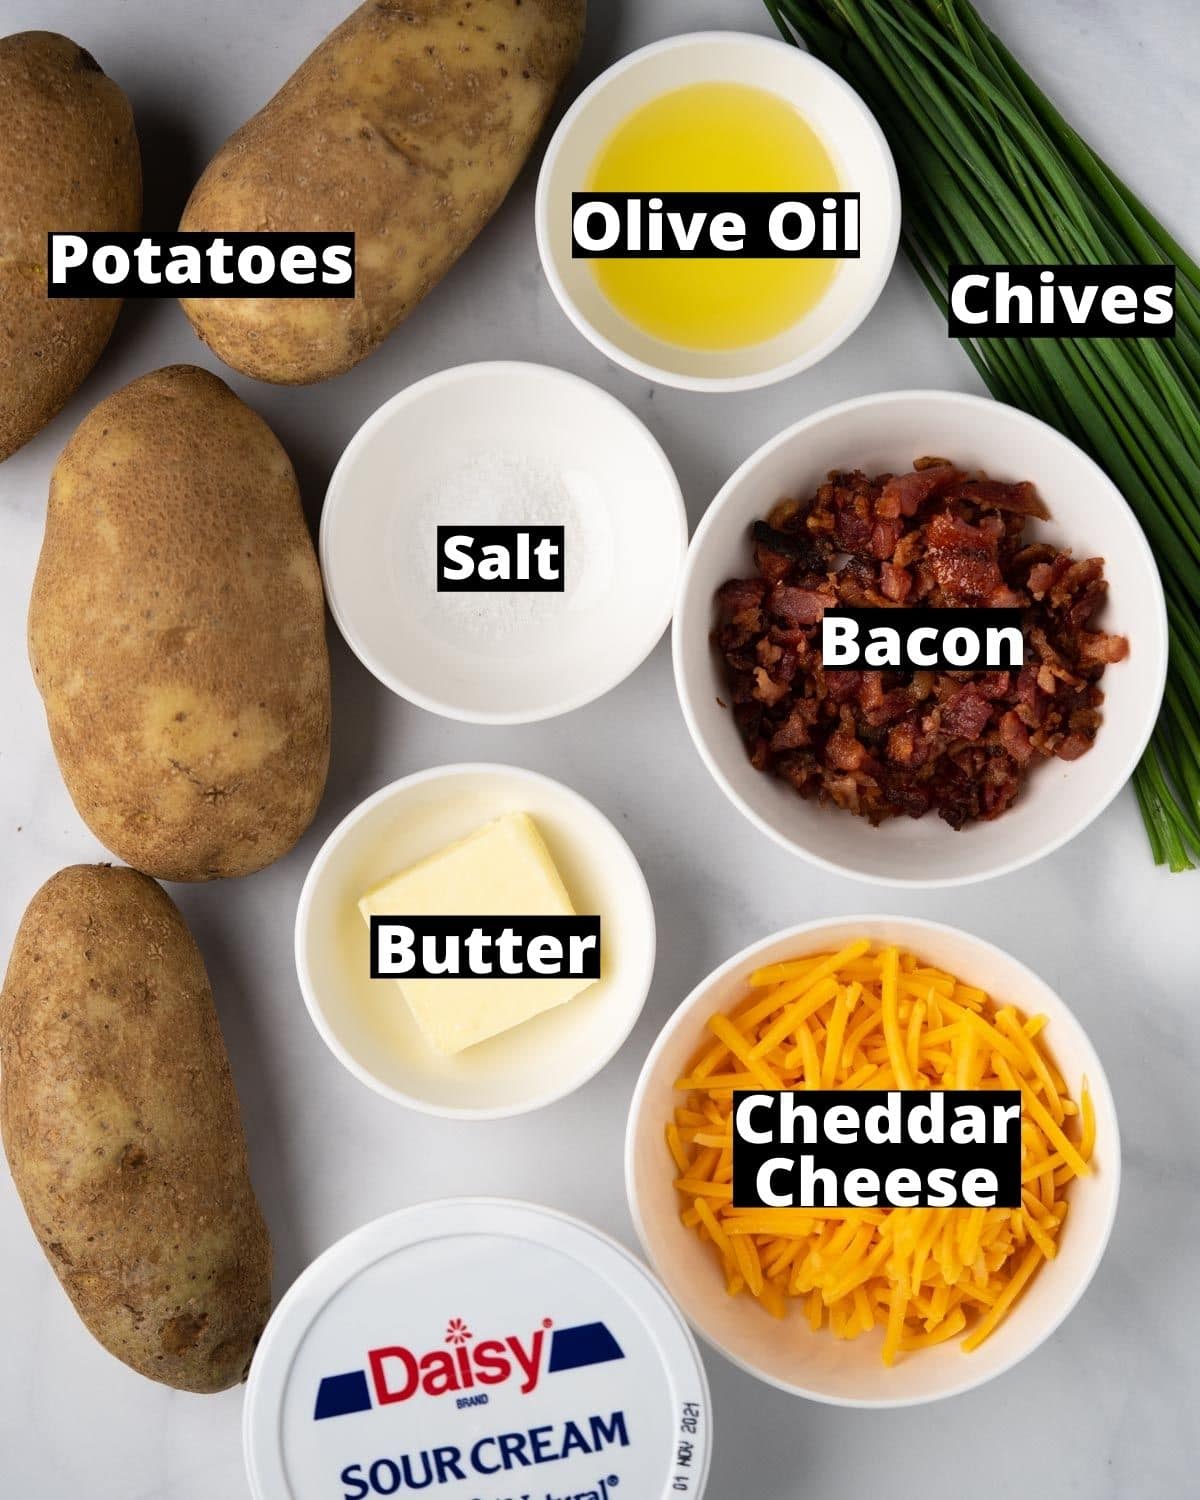
- Russet potatoes – go for small to medium size for the perfect hand-held snack.
- Olive oil + salt – helps crisp up the skins.
- Butter – brushed on before the filling goes in for extra flavor.
- Shredded cheddar cheese – melty and classic, but feel free to mix it up.
- Cooked bacon – crispy, salty, and adds that savory crunch.
- Sour cream + green onions – for that creamy-tangy-fresh finish.
How to Make Air Fryer Potato Skins
Please scroll ⬇️ to the recipe card for the full ingredient amounts and instructions.
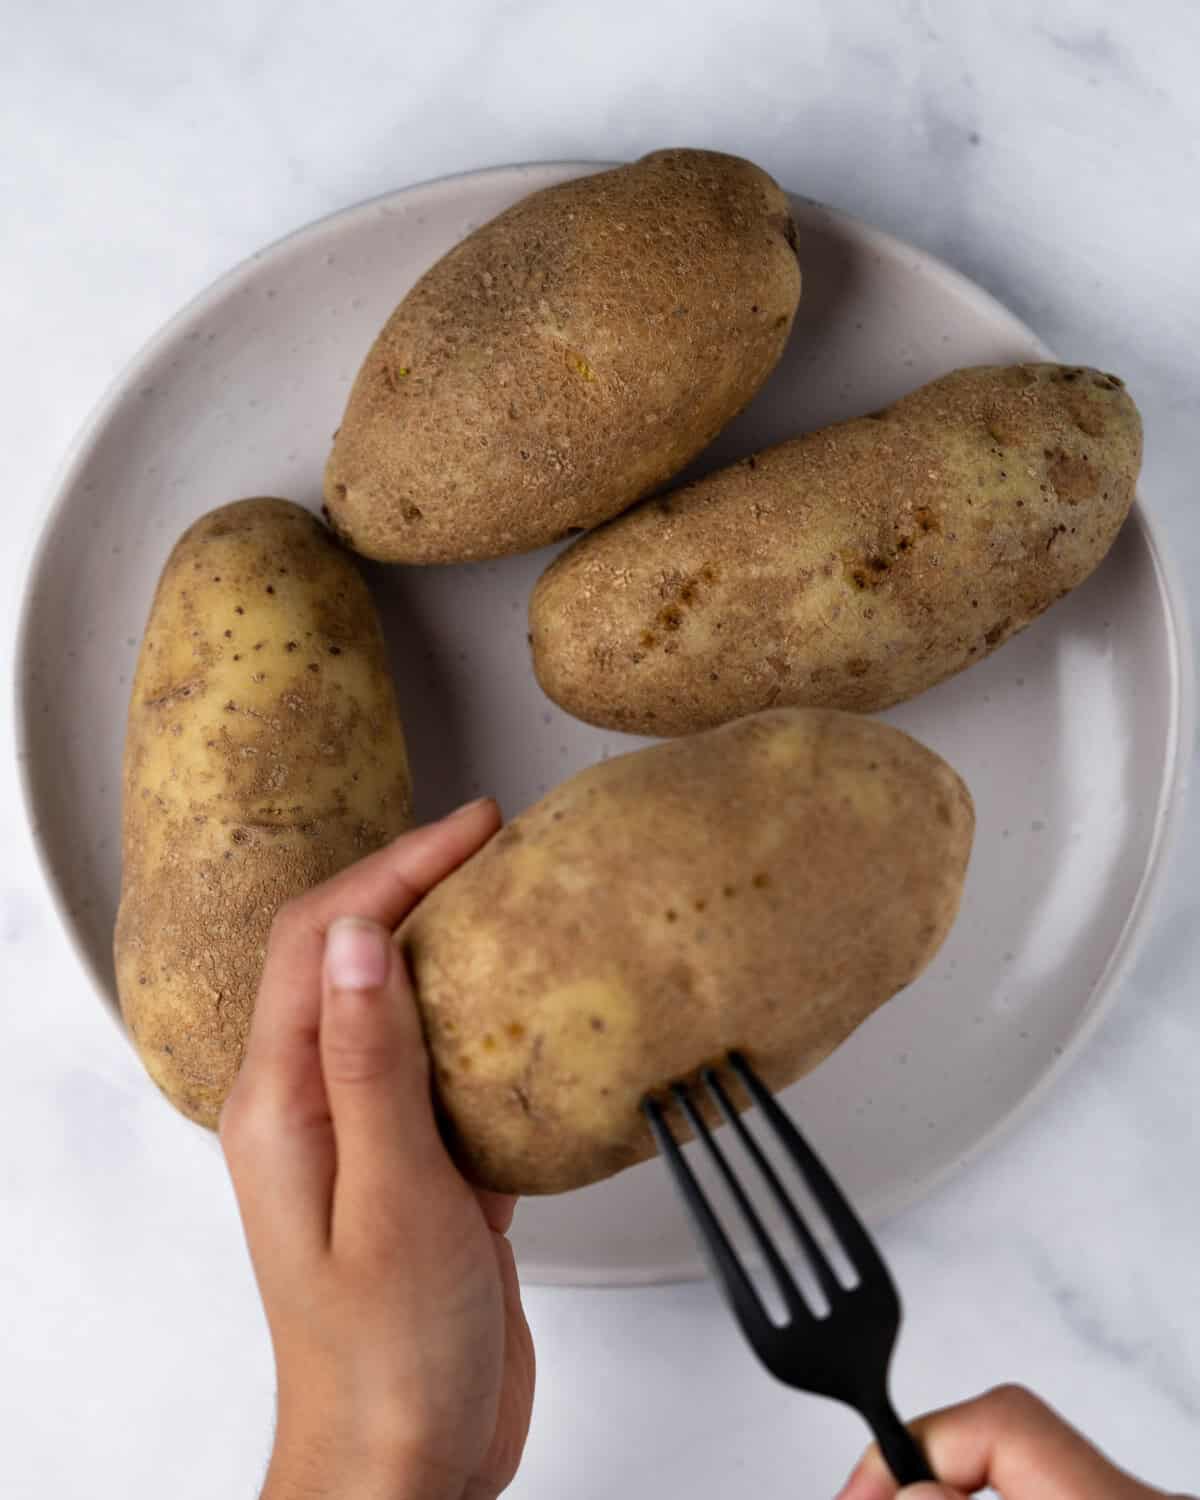
- Prep the potatoes. Wash and dry your potatoes. Poke a few holes in each one with a fork. Place on a microwave-safe plate, top with a damp paper towel, and microwave for 6 minutes. Flip and microwave for another 2–3 minutes until fork-tender.
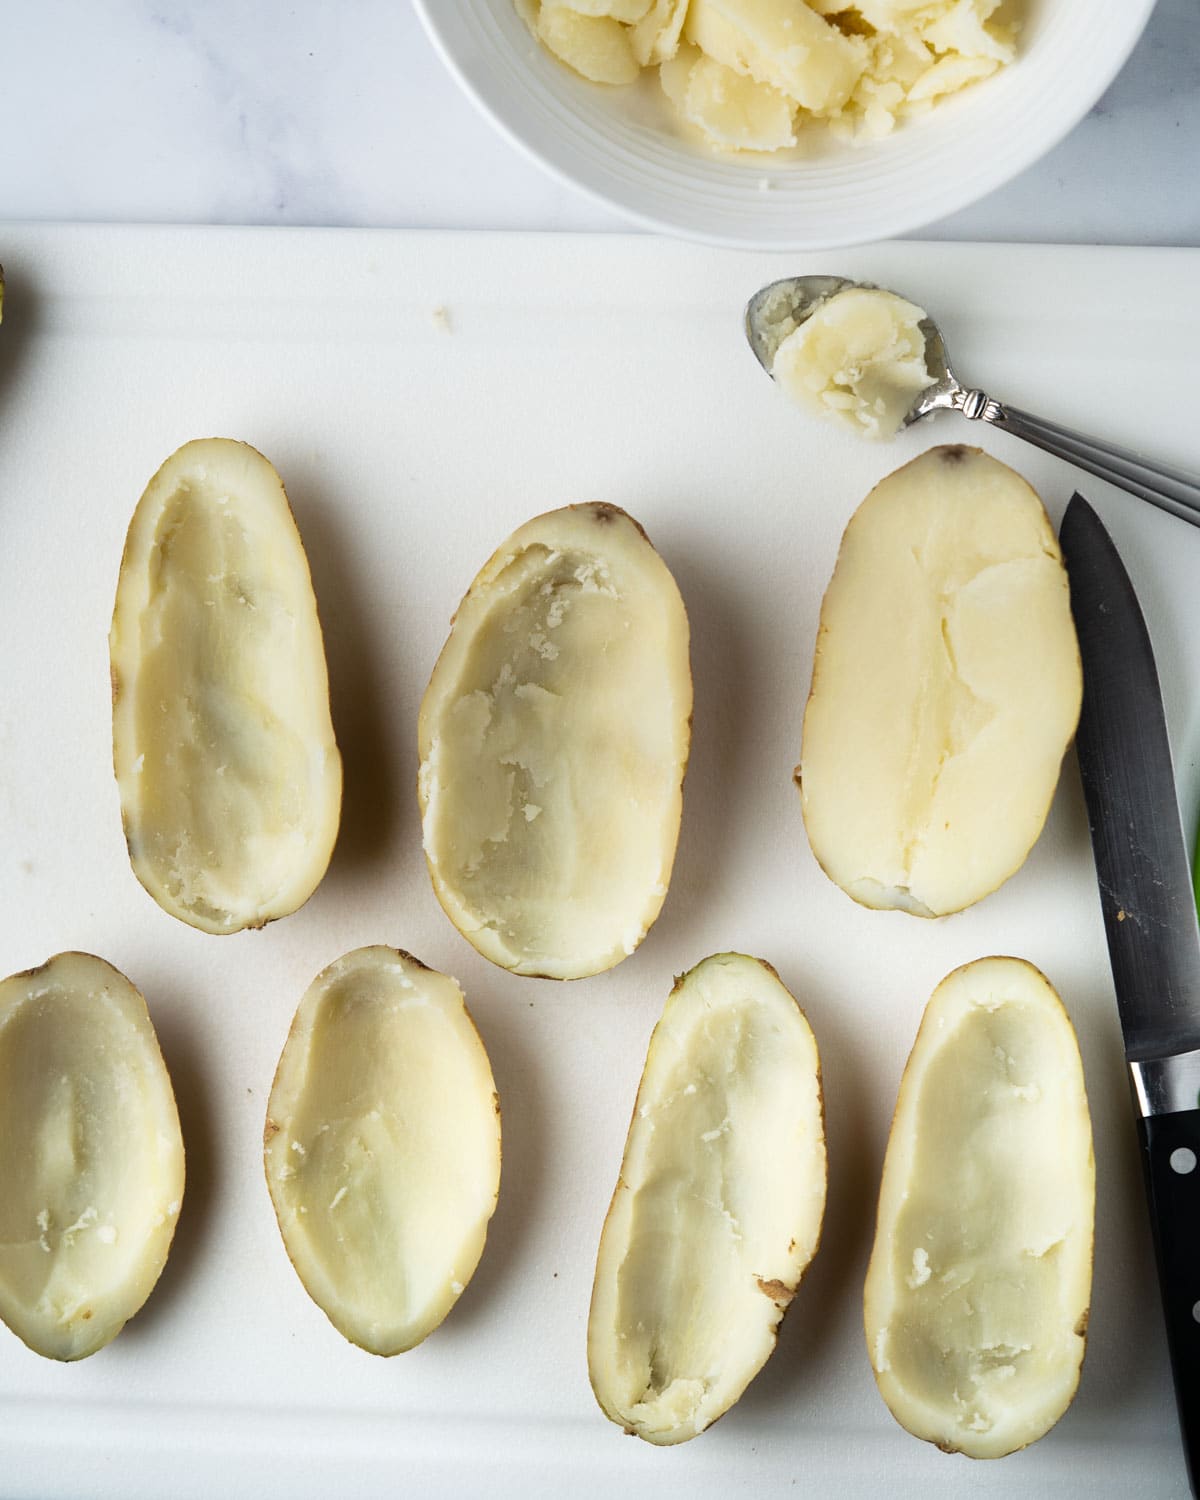
- Scoop and season. Let the potatoes cool, then slice in half. Scoop out the inside, leaving about ½ inch of flesh. Rub with olive oil and sprinkle with salt.
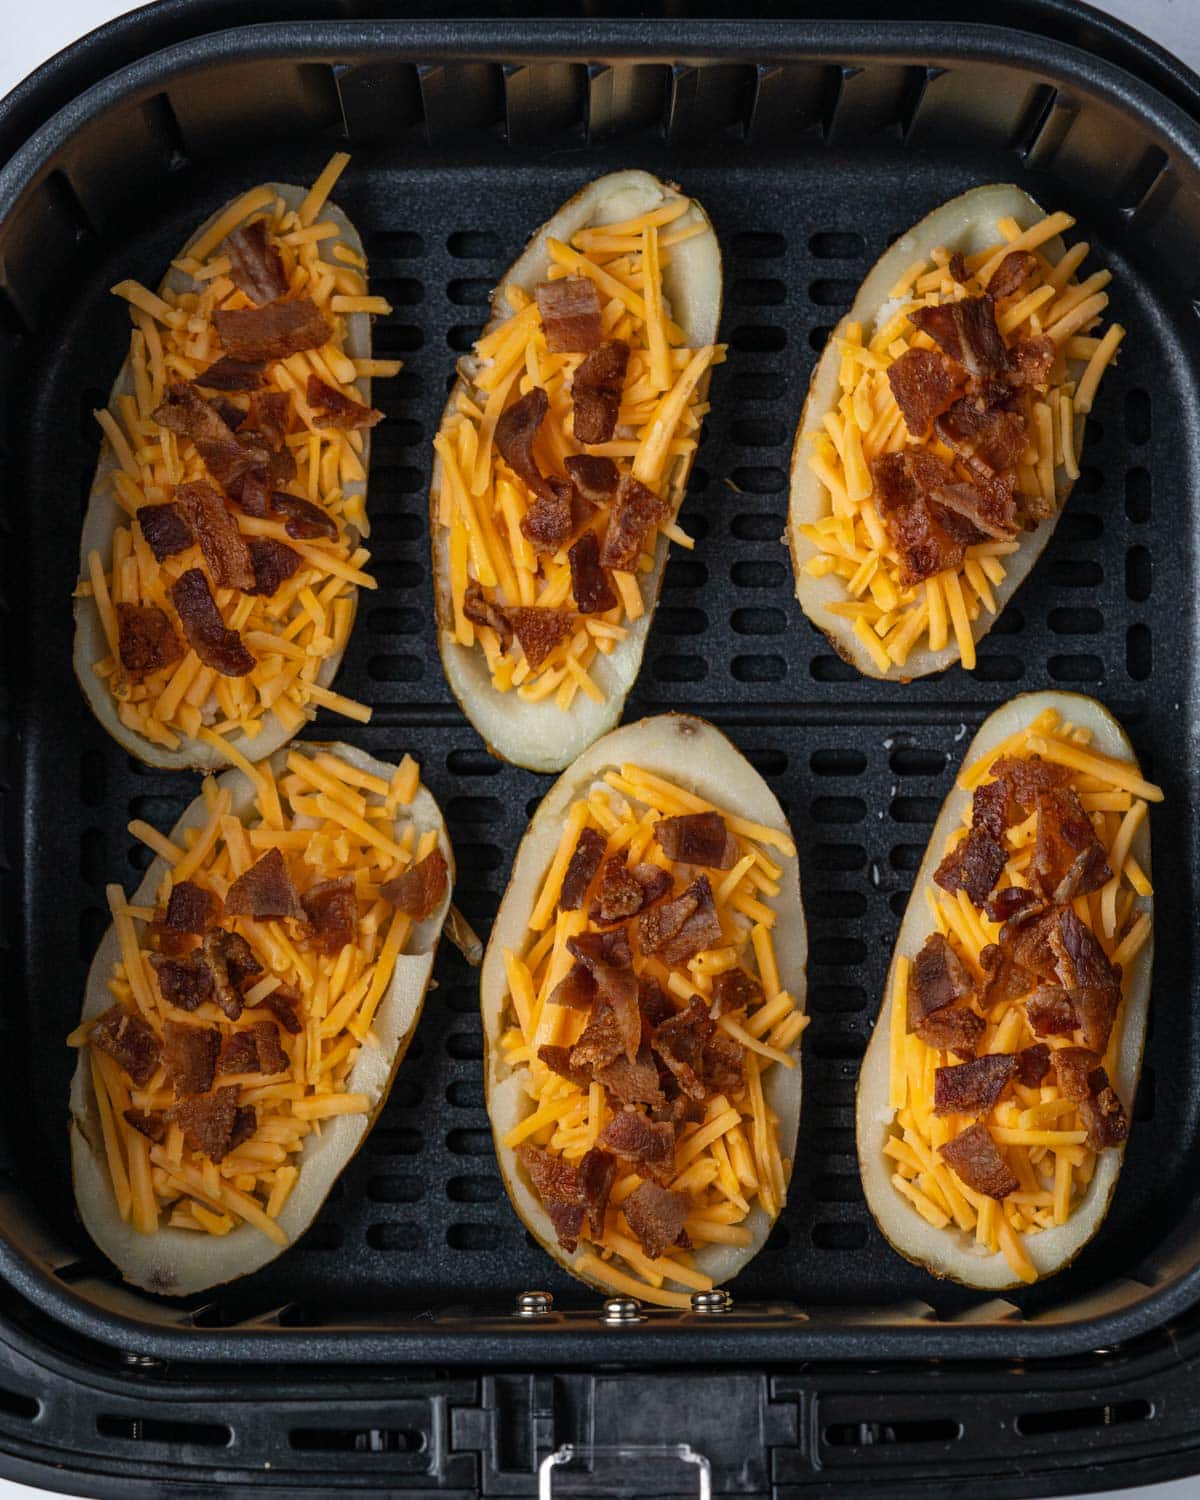
- Crisp the skins. Air fry the hollowed-out potato halves at 400°F for 6–8 minutes.
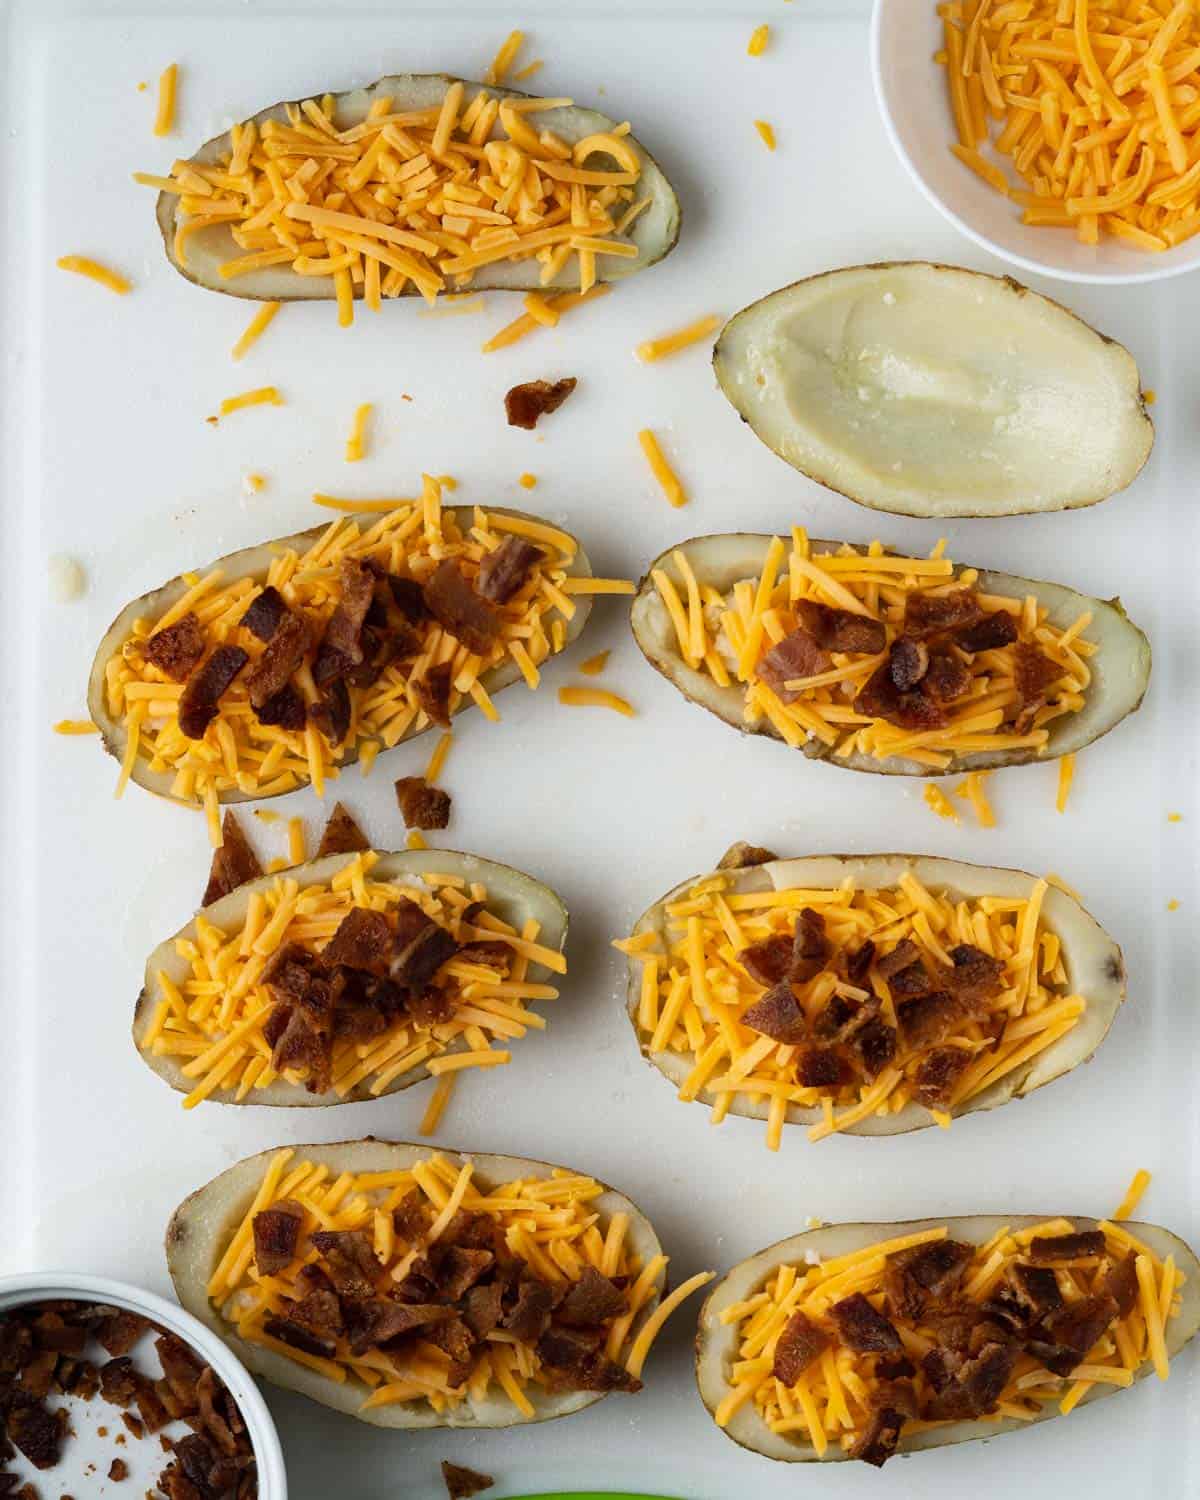
- Fill and air fry again. Add butter, cheese, and bacon to the inside of each skin and air fry for 2–3 more minutes until melty and golden.
- Add toppings. Top with sour cream and sliced green onions or chives. Serve warm!
Tips for Perfect Potato Skins
✔️ Scrub and dry the potatoes really well. Any leftover moisture can create steam, which prevents the skins from crisping up. The drier the skin, the crispier the results.
✔️ Don’t skip poking holes! Potatoes can (and will) explode in the microwave if you don’t let steam escape. A few fork pricks will do the trick.
✔️ Check for doneness. Use a fork to pierce the potato—if it slides in and out easily, they’re ready. If not, microwave for another 2–3 minutes.
✔️ Use small to medium Russets. They cook faster and make the perfect handheld size. Bigger ones work too—just plan for extra time.
✔️ Scoop carefully. It’s easy to go overboard and tear through the skin. Start from the center and gently scoop outwards, leaving about ½ inch of potato so they hold their shape and all the cheesy goodness.
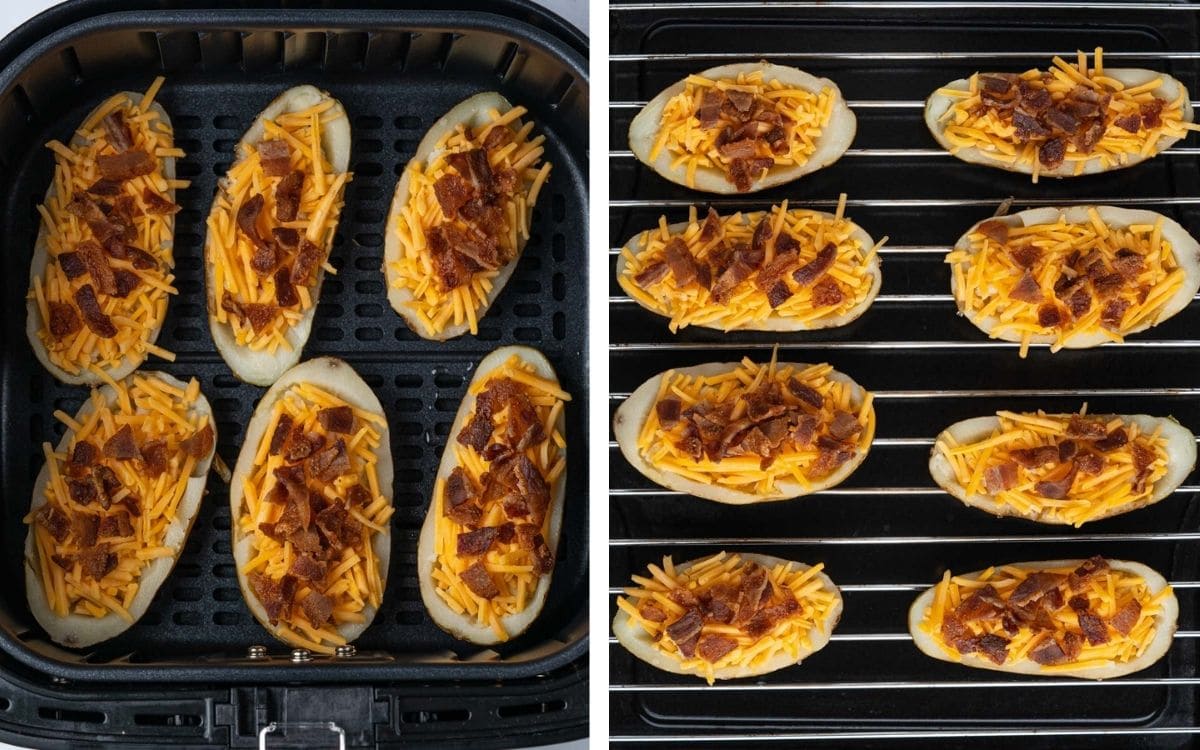
✔️ Work in batches. Don’t overcrowd the air fryer. If you’re making a bunch, try switching up the toppings to keep things fun.
✔️ Best when hot! These are at their crispiest right after air frying, but leftovers reheat beautifully in the air fryer the next day.
How Many Can I Cook at Once?
In a standard air fryer basket, you can fit about 6 potato halves in one layer. If you have an air fryer oven with trays, you can do up to 10–12 at a time. Just be sure they’re in a single layer with space between each one.
Topping Ideas
Want to switch things up? Try these ideas:
- Jalapeños and pepper jack cheese
- Buffalo chicken + blue cheese
- BBQ pulled pork
- Diced tomatoes + black beans + taco seasoning
- Ranch dressing drizzle
What to Do With the Scooped-Out Potato?
Don’t toss it! You can:
- Mix it with butter and milk for a quick mashed potato side
- Use it in potato pancakes, gnocchi, or on top of shepherd’s pie
- Add to soups for extra creaminess
- Freeze it in a zip-top bag for later

FAQs
Yes! Bake, scoop, and crisp the skins ahead of time. When ready to serve, add toppings and reheat in the air fryer.
Russet potatoes are best—they hold their shape and crisp up well.
Yes! This saves so much time. Microwaving cooks them through without waiting.
Absolutely. Sweet potatoes make a great twist with a slightly sweet flavor and crisp edges.
Serving Suggestions
Serve your air fryer potato skins with a side of ranch, sriracha mayo, or a drizzle of hot honey. They’re perfect on a snack board with chicken wings, sliders, and veggie sticks. I love making these for parties, movie nights, or whenever the snack cravings hit hard.
How to Store and Reheat
Store: Keep leftover potato skins in an airtight container in the fridge for up to 3 days.
Reheat: Pop them back in the air fryer at 375°F for 3–4 minutes until heated through and crispy again. Don’t reheat in the microwave unless you’re okay with them turning soft.
Crispy, Cheesy, and Totally Worth It!
Air fryer potato skins are one of those appetizers that feel a little extra, but are secretly so simple. Whether you’re hosting game day, movie night, or just treating yourself after a long week, these hit every time. Customize them with your favorite toppings, serve them hot, and watch them disappear fast!
If you try this recipe, I’d love to hear how it turned out! Leave a comment below and let me know what you filled yours with. And don’t forget to Pin it so you have it saved for your next party (or late-night snack craving).
RECIPE
Air Fryer Potato Skins
Equipment
- Air Fryer
Ingredients
- 4 small to medium Russet potatoes
- 1 tablespoon olive oil
- 1 teaspoon salt
- 1 tablespoon unsalted butter, melted
- 4 strips cooked bacon, crumbled
- ½ cup shredded cheddar cheese
Toppings (optional)
- ⅓ cup sour cream
- 2 green onions or chives, thinly sliced
Instructions
- Prep the Potatoes: Wash and dry the potatoes thoroughly. Poke a few holes into each with a fork. Place on a microwave-safe plate, cover with a damp paper towel, and microwave for 6 minutes. Flip and cook for 2–3 more minutes until fork-tender.
- Scoop Them Out: Let the potatoes cool slightly. Cut in half and scoop out the centers, leaving about a ½-inch border.
- Air Fry for Crispiness: Rub the potatoes with olive oil and sprinkle with salt. Place them skin-side down in the air fryer basket or tray. Air fry at 400°F for 6–8 minutes until golden and crisp.
- Add Toppings & Melt: Add melted butter, shredded cheddar, and bacon crumbles to each skin. Air fry for another 2–3 minutes until the cheese is bubbly and melted.
- Garnish & Serve: Top with sour cream and green onions. Serve hot and enjoy!
Notes
- Dry thoroughly: After scrubbing, pat potatoes completely dry so the skins crisp up instead of steaming.
- Don’t skip the fork holes: Poke a few to let steam escape—no one wants a potato explosion.
- Check for doneness: If a fork slides in easily, they’re ready. If not, microwave for a couple more minutes.
- Scoop carefully: Leave a ½-inch border to keep the skins sturdy for all your toppings.
- Use small to medium potatoes: They cook faster and fit better in the air fryer.
- Best served hot: But leftovers reheat great the next day, too!


Who doesn’t love potato skins. It was a absolutes hit at my Sunday’s football watching party.